Please wait...
About This Project
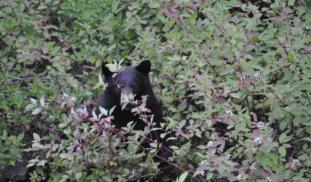
Berries are a crucial fall resource for a multitude of wildlife species including migratory birds, threatened grizzly bears, black bears, and a variety of small mammals. Berries are also an important socioeconomic and cultural resource for local communities and indigenous populations. We leverage satellite and aerial imagery data within a machine learning framework to develop species-specific maps of shrub distributions along the biologically diverse Rocky Mountain Front.

Browse Other Projects on Experiment
Related Projects
Optimizing eDNA sampling: Which filters best capture marine biodiversity?
Recent trials in the Galapagos demonstrate that environmental DNA (eDNA) is a powerful biodiversity monitoring...
Automated Monitoring for the Resilience of Marine Ecosystems in the Dominican Republic (MARE-RD)
Caribbean marine biodiversity is under critical threat from climate change and human pressures, losing...
Upgrading regional ocean monitoring with advanced sensors and open data in Costa Rica
Costa Rica, known for its rich biodiversity, has 92% of its territory in the ocean. However, it lacks a...


