Manufacturing the Main Combustion Chamber
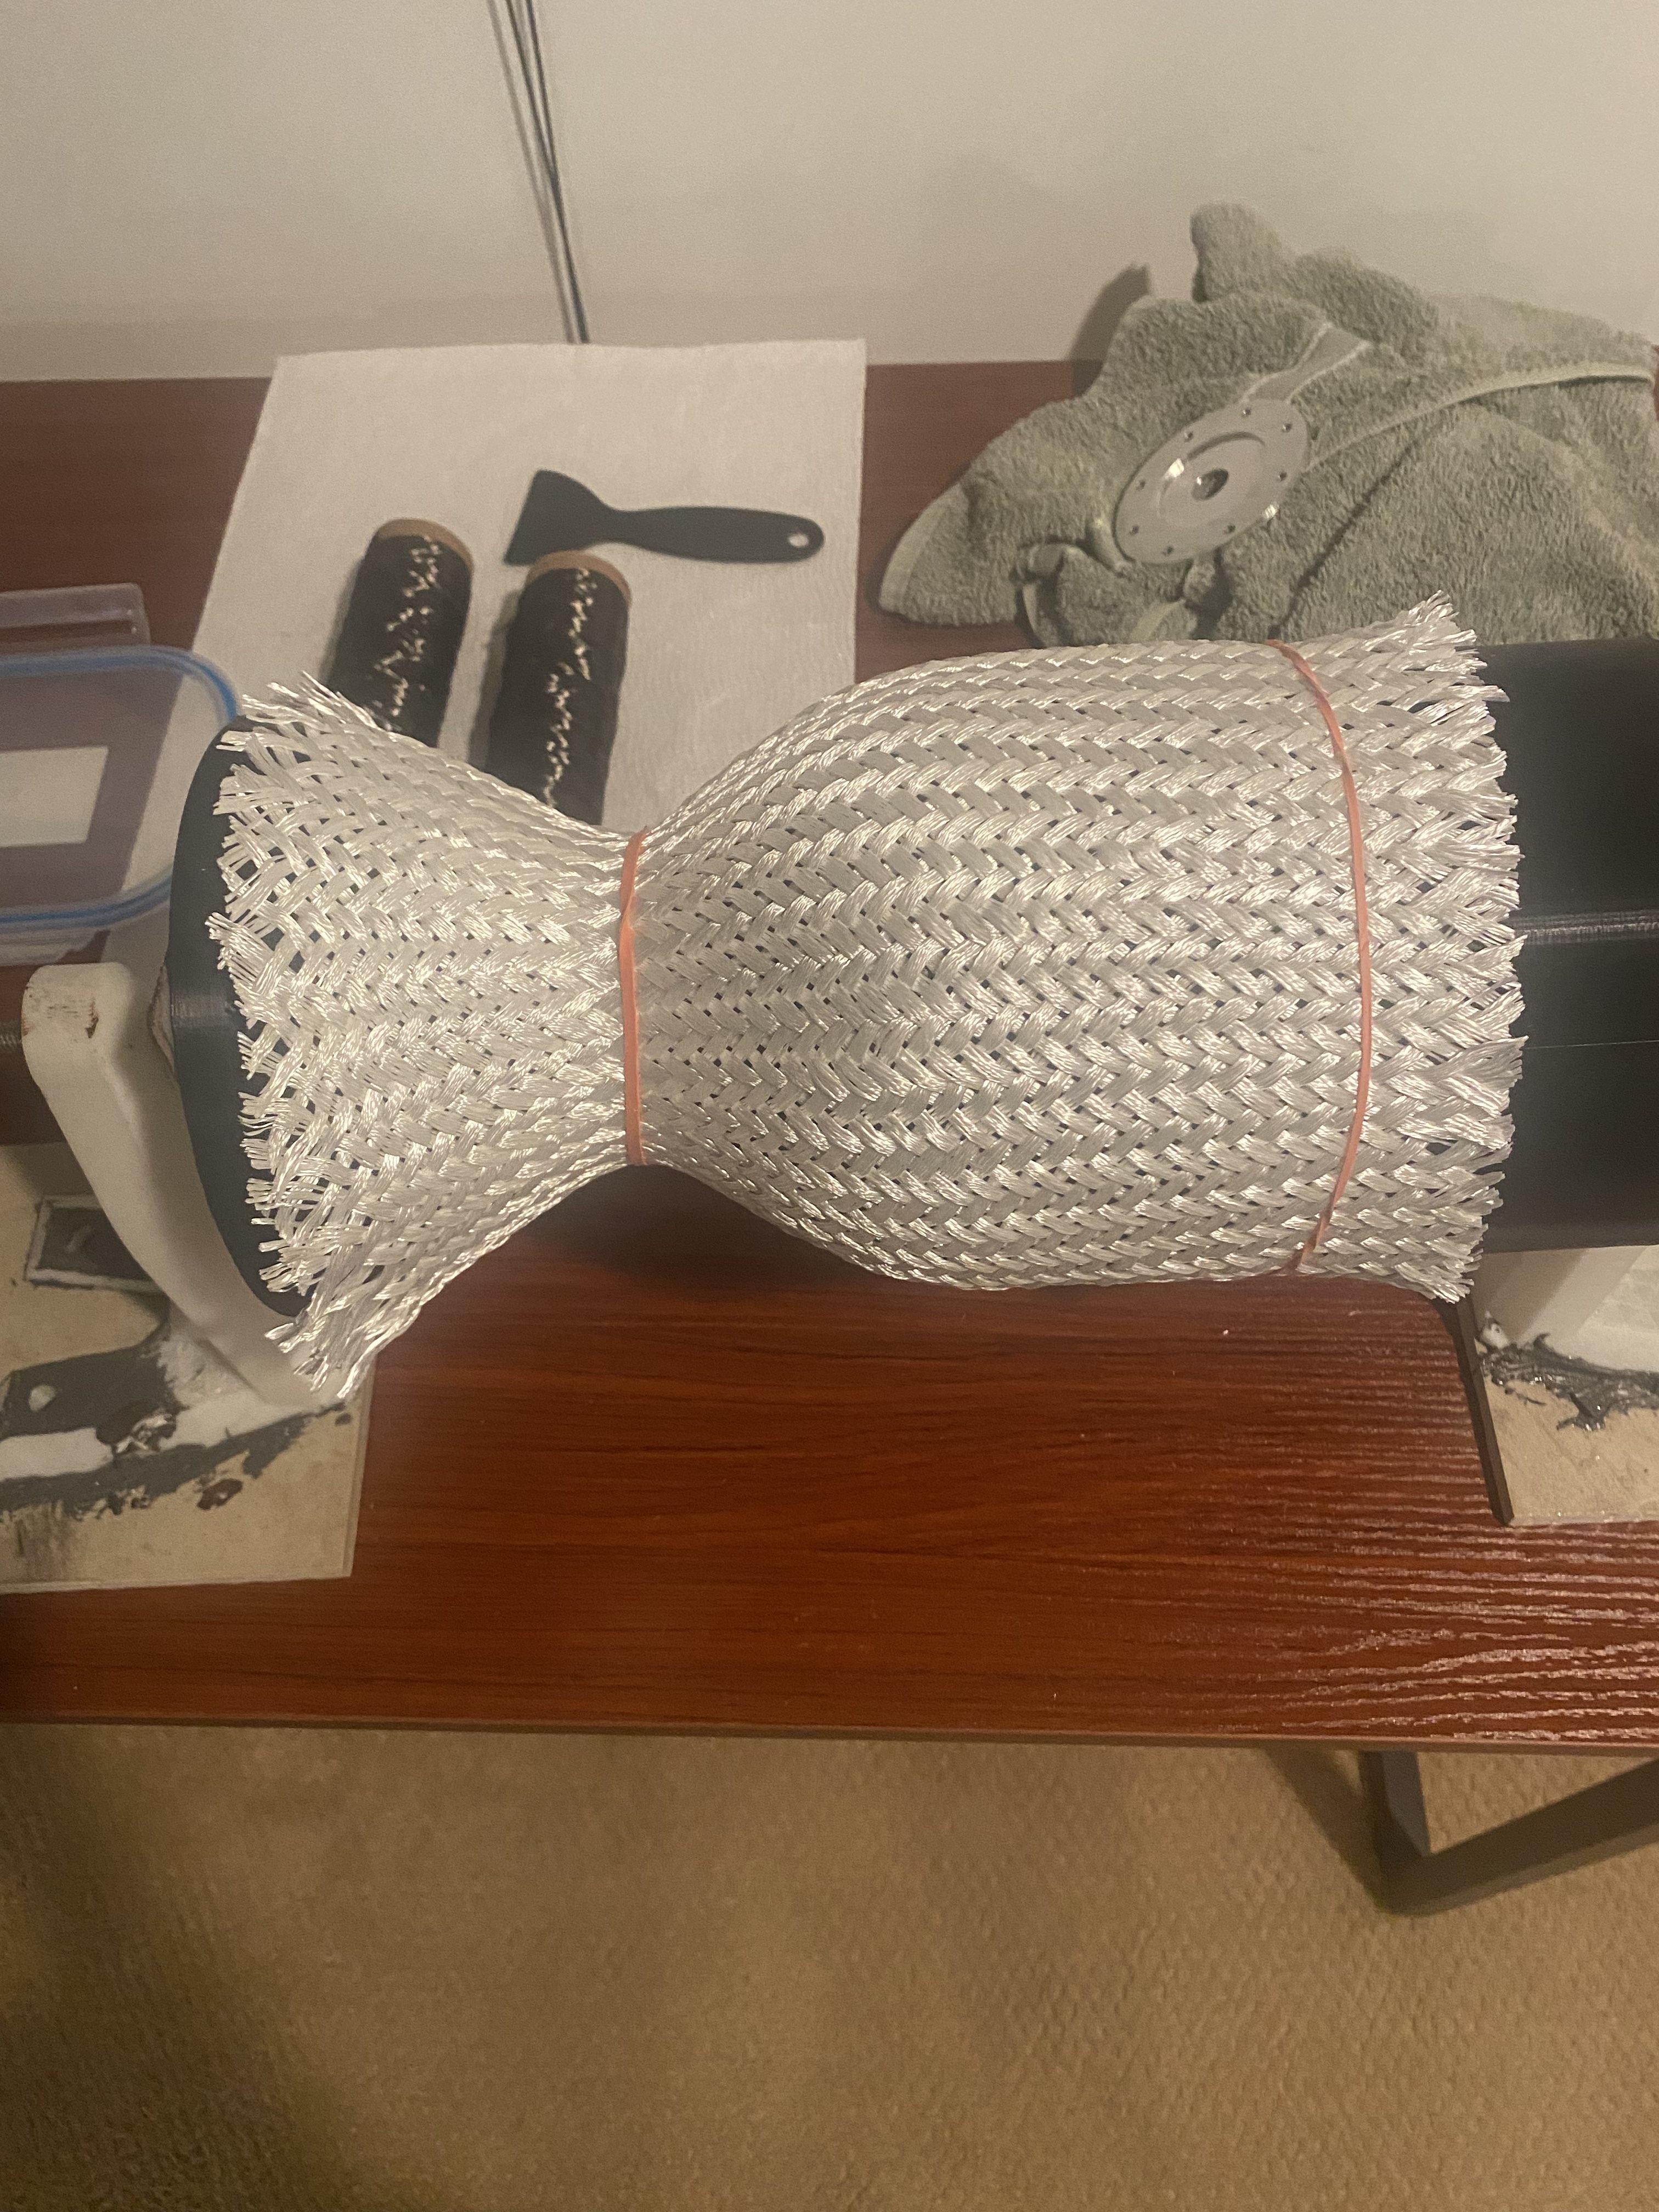
The combustion chamber of our rocket engine is broken into two parts: an ablative and a composite reinforcement. The ablative is made from a silica fabric, much like this one, and the reinforcement is carbon fiber. Both of these parts are applied around a 3D printed mandrel and hardened with phenol resorcinol resin.
WARNING: Phenol resorcinol is TOXIC! DO NOT attempt to handle this resin in a non-ventilated area without the proper respiratory equipment. Magnetar Space assumes NO responsibility for those that handle dangerous chemicals without proper PPE and/or training.
To create a combustion chamber, one must first print the mandrel. This should be done in two parts, printing the chamber and converging section of the nozzle separate from the diverging nozzle section. This is done so the mandrel can be removed later. After one end of the mandrel is secured to the other, apply mold release wax to the mandrel and a little bit of phenol resorcinol evenly over the mandrel surface. Next, carefully apply a silica sleeve over the mandrel, securing it with rubber bands:

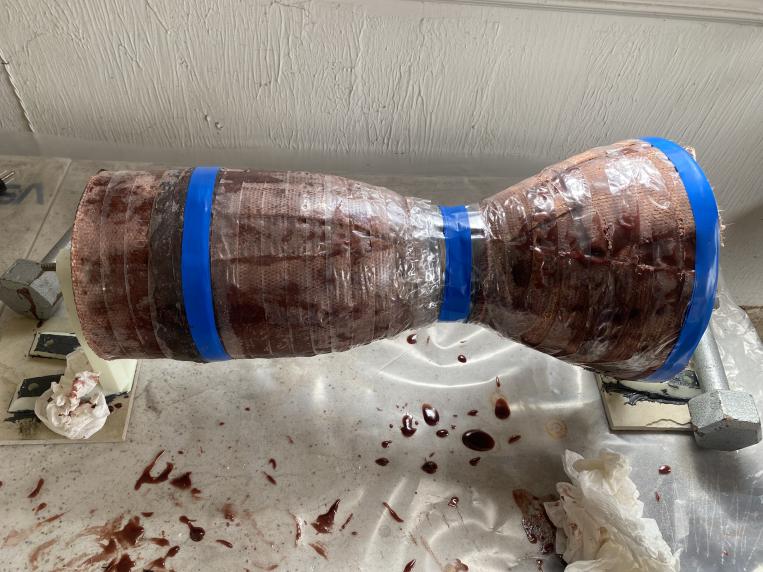
Using a paint roller, apply additional resin to the surface of the silica until the entire tube is saturated. Allow to cure for 24 hours.

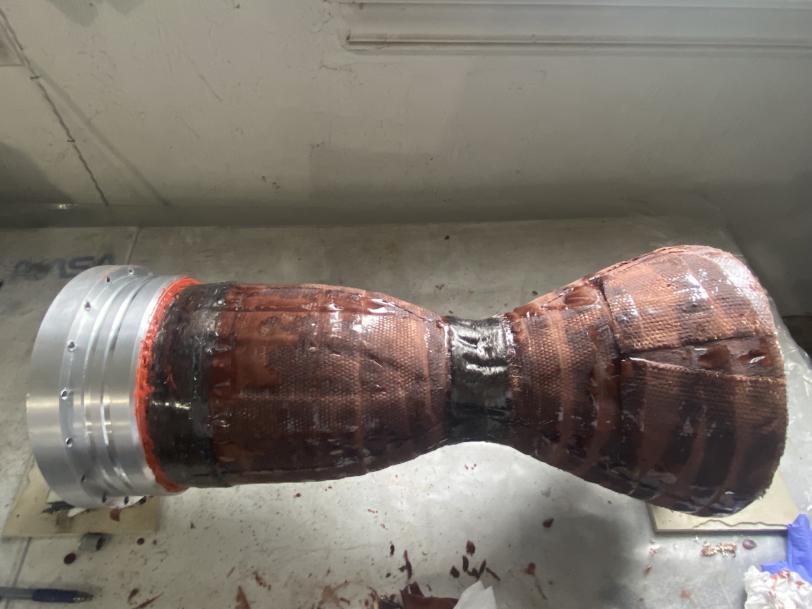
At this point, the injector and nozzle flanges will be fitted over the silica and secured with RTV sealant. This should be given an additional 12-24 hours to cure.

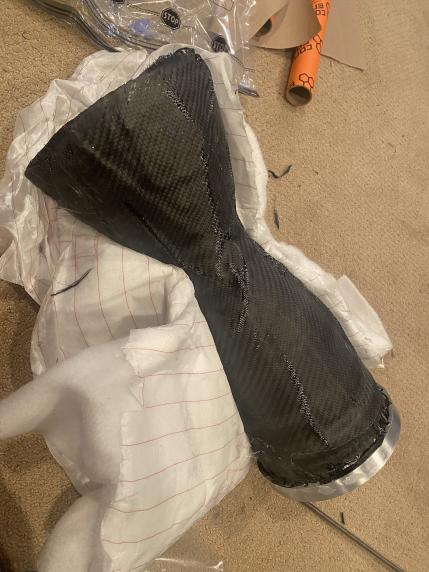
Then, coat both the flange anchor points and silica with an additional layer of resin and wrap the flange anchor points and main chamber with carbon fiber, soaking the composite in resin before applying it. Apply as many layers as desired.
Once complete, wrap peel ply around the chamber and then apply the breather and bleeder fabric. Smooth out any wrinkles. Place chamber in a vacuum bag and pull vacuum on the assembly for 24 hours. Remove vacuum bag, peel ply and breather layer. Slide mandrel halves out of the composite engine. If mandrel becomes stuck, it may be necessary to destroy it.

- Published on Jul 01, 2022
- 24 views
- 0 comments
- Print this page
- Back to Methods